React-Native Installation guide for Linux

Learning web Development and sharing my learnings with the community.
In this article, we will learn about the installation process of react-Native for Linux. I'm using Linux Manjaro KDE, so I will write this guide for Manjaro users, but if you use any other distro, your installation process will also be more or less similar to this. I will be providing instructions for both the GUI and terminal methods, so you can choose the one you're most comfortable with. If you run into any issues, please feel free to leave a comment and I'll do my best to assist you.
So let's dive into the installation process.
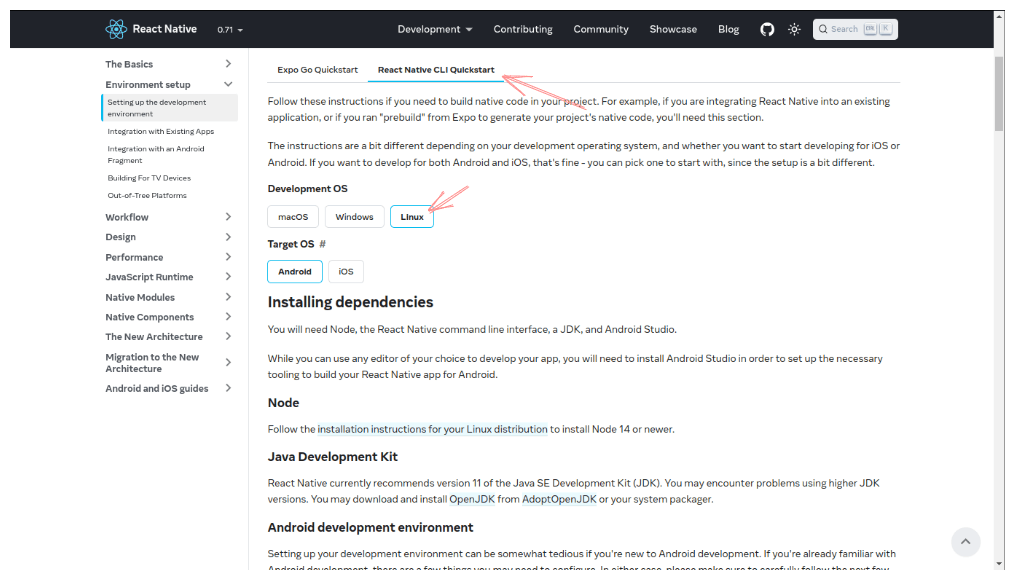
If you go to the Official Documentation and select React Native CLI Quickstart, you will see the list of all the required tools and installation guides for them.
Now I will guide you step by step on how to install these tools, but before that, follow these simple steps if you do not have enabled AUR support already.
Open the package manager on your device

Click on the Menu bar in the top right corner of the window and select
Preferencesfrom the list.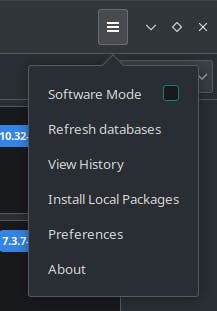
After verifying your password, click on the
third partyoption and enable AUR Support and close that window.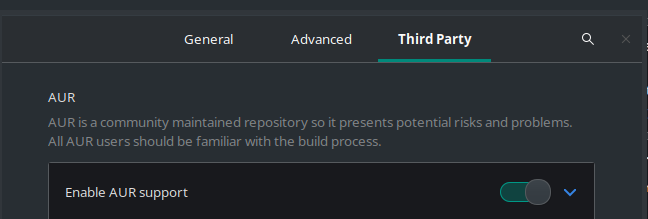
You can also do this using your terminal. Open your terminal using "Ctrl + Alt + T" and Install an AUR helper, such as "yay". You can do this by running the following command:
sudo pacman -S yayAfter enabling AUR Support, let's install VS Code. but for that, we have to update the packages if any update is available. You can update and upgrade all your packages by running this command:
sudo pacman -Syu
VS Code:
Using GUI:
You can find VS Code in the Linux Manjaro package manager in the name Code-oss.
Using Terminal:
Run this command to install VS Code:
sudo pacman -S code
After installing VS Code, open navigate to your project directory and run the command code . it will open that directory in VS Code.
Node:
Using GUI:
In the package manager, search for node. You will get a list of packages and you can install any one among these two.

Using Terminal:
Install Node.js and npm (Node Package Manager) by running the following command:
sudo pacman -S nodejs npmVerify the installation by checking the version of Node.js and npm:
  Copy codenode -v
  npm -v
Java Development Kit:
Using GUI:
Run this command in your terminal:
sudo pacman -S jdk-openjdk
You can verify the version using this command:
java -version
Android Studio:
Using GUI:
Search android-studio in your package manager and install the first package from the search result.
Using Terminal:
Run this command:
yay -S android-studio
After some time it will ask for another input, type I there and it will be installed. after installing, check if the Android Debug Bridge is working or not using this command:
adb --version
With these tools installed, you are now ready to begin your Android development journey. Happy coding!


